A tear in your car seat is a common thing if you are not careful. There might be many reasons- sharp objects, dog scratches, old leather and so on. No matter what is the reason behind the tear, it is a tear and you should repair it if you care about your car.
You may think that it is not mandatory to repair a tear as it remains inside the car. The thing is- it is not only about the look but also about the durability of the seat. If you let it torn, it’ll tear faster and ruin the seat. When it is ruined, you’ll have to change the whole seat or cover. So, repairing a torn leather seat is always preferable.
However, there are some ways to repair tears is a seat as long as those are small. But if the tear is large, you won’t find too many ways to repair it. If it is too large, changing the cover or the seat is the only thing you should do.
However, let’s talk about repairing a large tear in leather car seats. Here, large means not as large as a foot. Well, you might repair that too sometimes following the method described here. You’ll have to use your instinct to understand if it is repairable or not.
Related Post: Read Top Rated Car Cover Review
Table of Contents
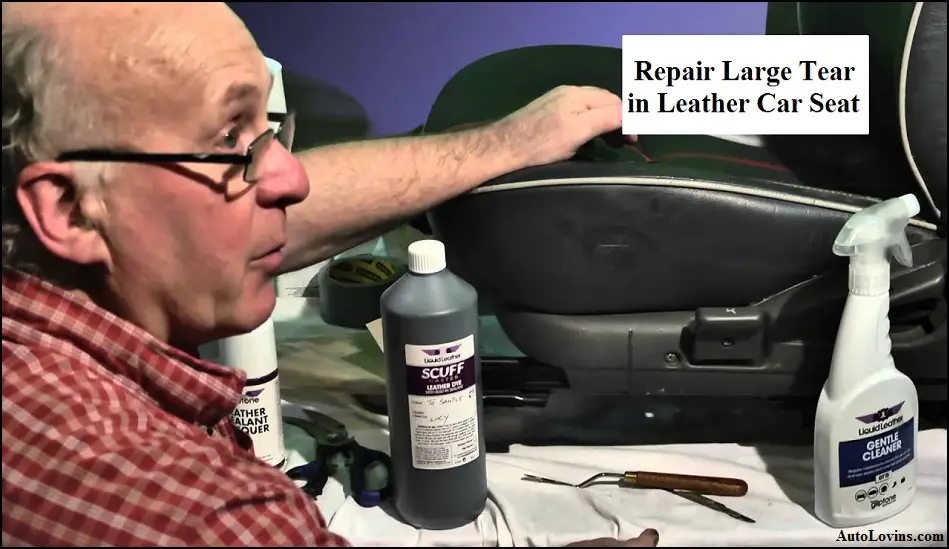
How to Repair Large Tear in Leather Car Seat
To me, the best way to repair a large tear in a leather car seat is using a patch. It may look a bit odd sometimes, but it’ll keep the seat safe for a long time. So, let’s know about the process.
-
Choosing a Leather Patch
Choosing a leather patch is the most important thing in the whole process if you don’t want to ruin the look. All you need to do is find out a leather patch that has the exact match patterns, if possible. If you don’t find any, try to match the color and patters as much as possible.
You can search for extra leather in your car, especially near the frame under the seat. If you have luck, you may find some extra part of leather that can cover the tear.
-
Prepare the Patch to Fit the Area
After you find a patch, now it is time to prepare it to fit the torn area. Cut the patch so that it matches the shape of the tear or hole. Make sure that you are keeping the patch a bit larger that the torn area. The extra portion will make sure that the patch becomes attached to the good leather around the torn area.
However, while cutting the patch, use sharp scissors. It’ll keep the edges sharp. Otherwise it won’t look good at all.
-
Attach the Patch
Now it is time to attach the patch to the torn area. But before that, here is a simple hack. You are attaching the patch with glue. Glue will harden the foam inside the leather. You’ll feel uncomfortable while sitting on it.
So, before doing that, take a wax paper of similar size and shape and put it behind the hole so that it covers the full hole or tear from the inside. It’ll stop the glue from coming in touch of the foam and making those hard.
Now, evenly apply leather adhesive to the sides of the patch. Then, carefully place it on the torn area. Make sure that it seats properly on the good leather around the tear. Put a bit pressure on it so that it seats perfectly.
-
Let the Adhesive Dry
Now all you need to do is let it dry. The packet of the adhesive will tell you how much time it’ll take to dry. To be sure, let it dry for a bit longer time than that. Till then, don’t sit on the seat, don’t allow children inside the car and don’t put anything heavy on it. Once the adhesive is dry, you can sit on it again.
Things to remember
- Make sure that you are choosing a quality leather patch and adhesive.
- While attaching the patch to the tear, make sure that the tear remains normal. Don’t put anything on the seat that presses it.
- To ensure proper bond, take a helping hand who can keep the tear neutral without ruining it.
- For larger tears, work more carefully.
Alternative Way
You can also use needle and thread to fix tears in leather car seats. But for this, you’ll have to have enough leather around the torn area so that you can fix it easily. Also, you’ll need a few tools while you are using this method. So, this might be a bit complex process for you.
However, if you have previous experience of stitching, you can go for this method. There are some videos available in YouTube following which you’ll be able to do the task on your own. Also, you can add an extra vinyl patch on the torn area using needle and thread if you are a pro. But if you are new, don’t try to do that. You’ll end up ruining the whole thing.
Final Verdict
To me, using a leather patch and adhesive is the best way to repair large tear in leather car seat. I’ve described the whole process elaborately above. I hope you’ll easily understand the process and get the task done. If you are new, you can practice on a leather piece first. That’ll help a lot.
I’ve already said that repairing a leather car seat is not only for improving the look but also making sure that it lasts for a long time. A properly fixed torn area won’t bother you for a long time. So, while doing this, don’t hurry. Take your time and follow the process carefully. You can do it. Cheers.